| Overview | Store | View | Binding and Lifecycle | State preservation | Logging | Time travel |
Time Travel
Time travel is a power debugging tool. It allows you to record all events and states from all active Stores.
When events are recorded you can explore them, replay and debug. The core functionality is multiplatform and is
implemented for all supported targets. However, some features are available only on specific platforms.
⚠️ Time travel is a debugging tool and may affect performance, ideally it should not be used in production.
There are three main steps to enable and use time travelling:
- Provide a time-travel-aware variant of the
StoreFactoryto allStorefactories - Run a time travel server on your app
- Use one of the provided clients to connect to the server and control the tool
Providing a StoreFactory for time travelling
The TimeTravelStoreFactory
is used to create an implementation of Store that is able to record and replay events. In debug builds, this variant of
the StoreFactory can be passed via DI to all Store factories instead of the DefaultStoreFactory.
The functionality described in this section is available on all supported targets.
Suppose there is the following Store factory:
internal class CalculatorStoreFactory(private val storeFactory: StoreFactory) {

    fun create(): CalculatorStore =
        object : CalculatorStore, Store<Intent, State, Nothing> by storeFactory.create(
            name = "CounterStore",
            // ...
        ) {
        }

    // Omitted code
}
It accepts a StoreFactory and uses it to create an implementation of the CalculatorStore. You can now pass
any StoreFactory here. So if you want to enable time travelling, just pass an instance of
the TimeTravelStoreFactory:
val storeFactory = TimeTravelStoreFactory()

CalculatorStoreFactory(storeFactory).create()
You can also combine it with the LoggingStoreFactory in the following way:
val storeFactory = LoggingStoreFactory(TimeTravelStoreFactory())

CalculatorStoreFactory(storeFactory).create()
Usually there should be a global instance of the StoreFactory somewhere in the main app, passed down to all the
dependencies.
Running the time travel server
Each app with time travelling enabled has a global instance of the TimeTravelController. Each Store
automatically connects to the controller. The controller accepts various commands from outside, records events from the
registered Stores, substitutes their states and re-triggers events for debugging purposes.
In order to allow remote control, the app should run a time travel server. The server binds the TimeTravelController
with the outside world. The way how the server is implemented is platform specific. Currently, the following targets are
supported:
- JVM-based targets:
androidandjvm - Darwin/Apple targets:
ios,tvos,watchosandmacos - JavaScript (
js), the Chrome browser only
There should be no technical limitations to implement the server for other platforms. Contributions are welcome!
All server implementations except the one for JavaScript are TCP-based. The default port is 6379 unless explicitly
changed during the initialisation.
⚠️ The communication protocol is open but is considered internal. There are no compatibility guarantees between different versions.
Running the time travel server on an Android app
First import the time travel dependency in the application module. Replace <version> with the
latest release version.
implementation("com.arkivanov.mvikotlin:mvikotlin-timetravel:<version>")
In Application#onCreate, start the TimeTravelServer during onCreate().
class App : Application() {
    private val timeTravelServer = TimeTravelServer()

    override fun onCreate() {
        super.onCreate()
        timeTravelServer.start()
    }
}
⚠️ Since the
TimeTravelServerdoes use the internet on the device for communicating with the development machine, even if the app does not use the internet you will need to declare theandroid.permission.INTERNETpermission.
Running the time travel server on a JVM app
First import the time travel dependency in the application module. Replace <version> with the
latest release version.
implementation("com.arkivanov.mvikotlin:mvikotlin-timetravel:<version>")
In the main function of the application, create an instance of the TimeTravelServer and provide the runOnMainThread argument. This can be done with SwingUtilities.invokeLater {} or with coroutines/Reaktive if that is being used.
fun main() {
    TimeTravelServer(runOnMainThread = { SwingUtilities.invokeLater(it) })
        .start()
}
Running the time travel server on a Darwin/Apple app
To set up the TimeTravelServer on a Darwin/Apple device, the mvikotlin-timetravel dependency must be exported into the shared module in build.gradle.kts. Also, the mvikotlin-timetravel module must be added as api dependency, adding as implementation is not enough. This can be done in the commonMain source set, or just only in a Darwin source sets.
kotlin {
    ios {
        binaries {
            framework {
                export("com.arkivanov.mvikotlin:mvikotlin-timetravel:<version>")
            }
        }
    }

    sourceSets {
        named("commonMain") {
            dependencies {
                api("com.arkivanov.mvikotlin:mvikotlin-timetravel:<version>")
            }
        }
    }
}
Then in your app, create and start an instance of the TimeTravelServer.
@UIApplicationMain
class AppDelegate: UIResponder, UIApplicationDelegate {

    private let s = TimeTravelServer()

    func application(_ application: UIApplication, didFinishLaunchingWithOptions launchOptions: [UIApplication.LaunchOptionsKey: Any]?) -> Bool {
        // Override point for customization after application launch.
        s.start()

        return true
    }

}
Running the time travel server for the Chrome browser (JavaScript)
First import the time travel dependency in the application module. Replace <version> with the
latest release version.
implementation("com.arkivanov.mvikotlin:mvikotlin-timetravel:<version>")
In the main function of the application, start the TimeTravelServer.
fun main() {
    TimeTravelServer().start()

    // The reset of the code
}
Using time travel clients
The time travel client communicates to the server, and provides UI to control the feature and displays the data. At the moment, there are three variants of the client provided.
- The IntelliJ IDEA plugin - currently for Android applications only
- The standalone Java application - for Android, JVM and Darwin/Apple applications
- The Chrome extension - for JavaScript web applications
Using the IntelliJ IDEA plugin
The IntelliJ IDEA plugin can be used directly from the IDE. By default it uses adb to connect to Android apps. However, you can switch to a TCP connection in the settings, so it could also connect to JVM and Darwin/Apple apps.
How to install
You can find the plugin in the IntelliJ IDEA Marketplace. It can be installed directly from IntelliJ IDEA or Android Studio. Please navigate to Settings -> Plugins -> Marketplace and type “MVIKotlin” in the search field.
How to use
The client connects to the TimeTravelServer running on an application via TCP. The default port is 6379.
To connect to an Android application running the TimeTravelServer, the easiest way is to simply open the settings and check the “Connect via ADB” checkbox. Then just click on the “Connect” button, the client will prompt you with the adb executable path and then the connection should be established. The client uses ADB to forward the TCP port.
To connect to a non-Android application (or to an Android application without using the ADB) - open the settings, uncheck the “Connect via ADB” checkbox and type the host address of the device. For applications running locally (e.g. a JVM or a macOS application, an iOS application running on a simulator, etc.) the host address is usually localhost. For a remote device, the host address should be specified explicitly. Please refer to the device’s settings to find out its TCP address. In any case, the server’s port should be connectable (e.g. permissions are granted, the port is allow-listed, etc.).
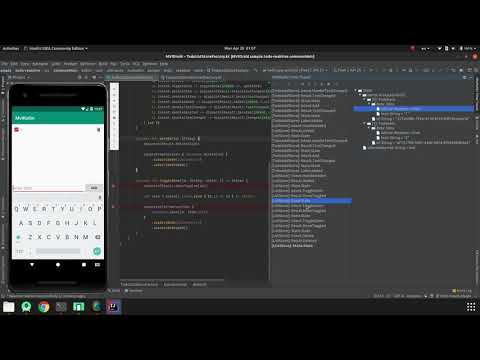
Demo video
Check out the video demonstrating the time travel IDEA plugin:
Using the standalone client application on desktop
The desktop client app provides similar functionality to the IntelliJ IDEA plugin. But it can also connect to JVM and Darwin/Apple applications.
⚠️ This client can not be used for Web (JavaScript) applications.
How to install
You can download distributions for Linux and Windows from the Releases page on GitHub. For macOS you will need to build and run it from sources. Please run the following command (the minimum JDK version 11 is required):
./gradlew :mvikotlin-timetravel-client:app-desktop:run
How to use
The usage is the same as for the IntelliJ IDEA plugin.
Building a distributable version
The time travel client for desktop is implemented using Compose for Desktop. So it is possible to assemble a distributable version. Please read the corresponding documentation page.
Demo video
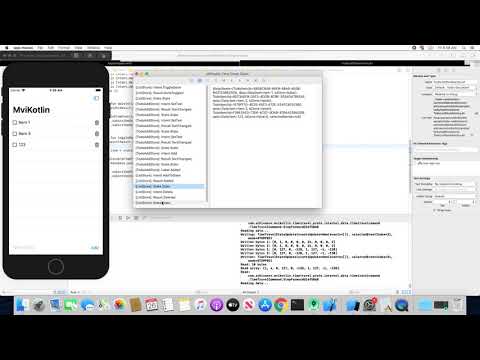
Check out the video demonstrating how you can debug an iOS app using the time travel client app:
Using the Chrome browser extension (experimental)
The Chrome browser extension provides similar functionality to other time travel clients, but is specially designed for Web applications.
⚠️ The time travel Chrome extension is currently experimental. Eventually it will be either promoted to stable or removed.
How to install
You can install the extension from the Chrome Web Store.
How to use
The extension adds a DevTools panel, which looks and works similar to other time travel clients. Make sure you have started the TimeTravelServer in your Web application. When the web page is loaded, right-click on it and select the “Inspect” menu item. Navigate to the “MVIKotlin” panel and click the “Connect” button. The extension will inject a special script into the web page, which proxies messages between the TimeTravelServer and the extension.
Demo video
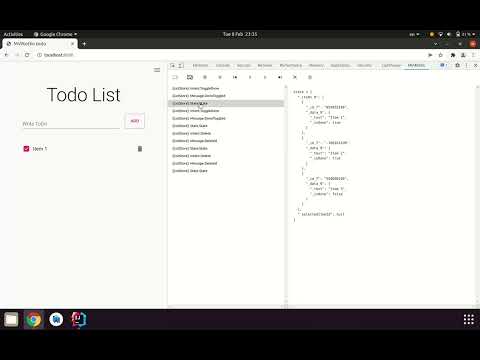
Check out the video demonstrating the time travel Chrome extension.
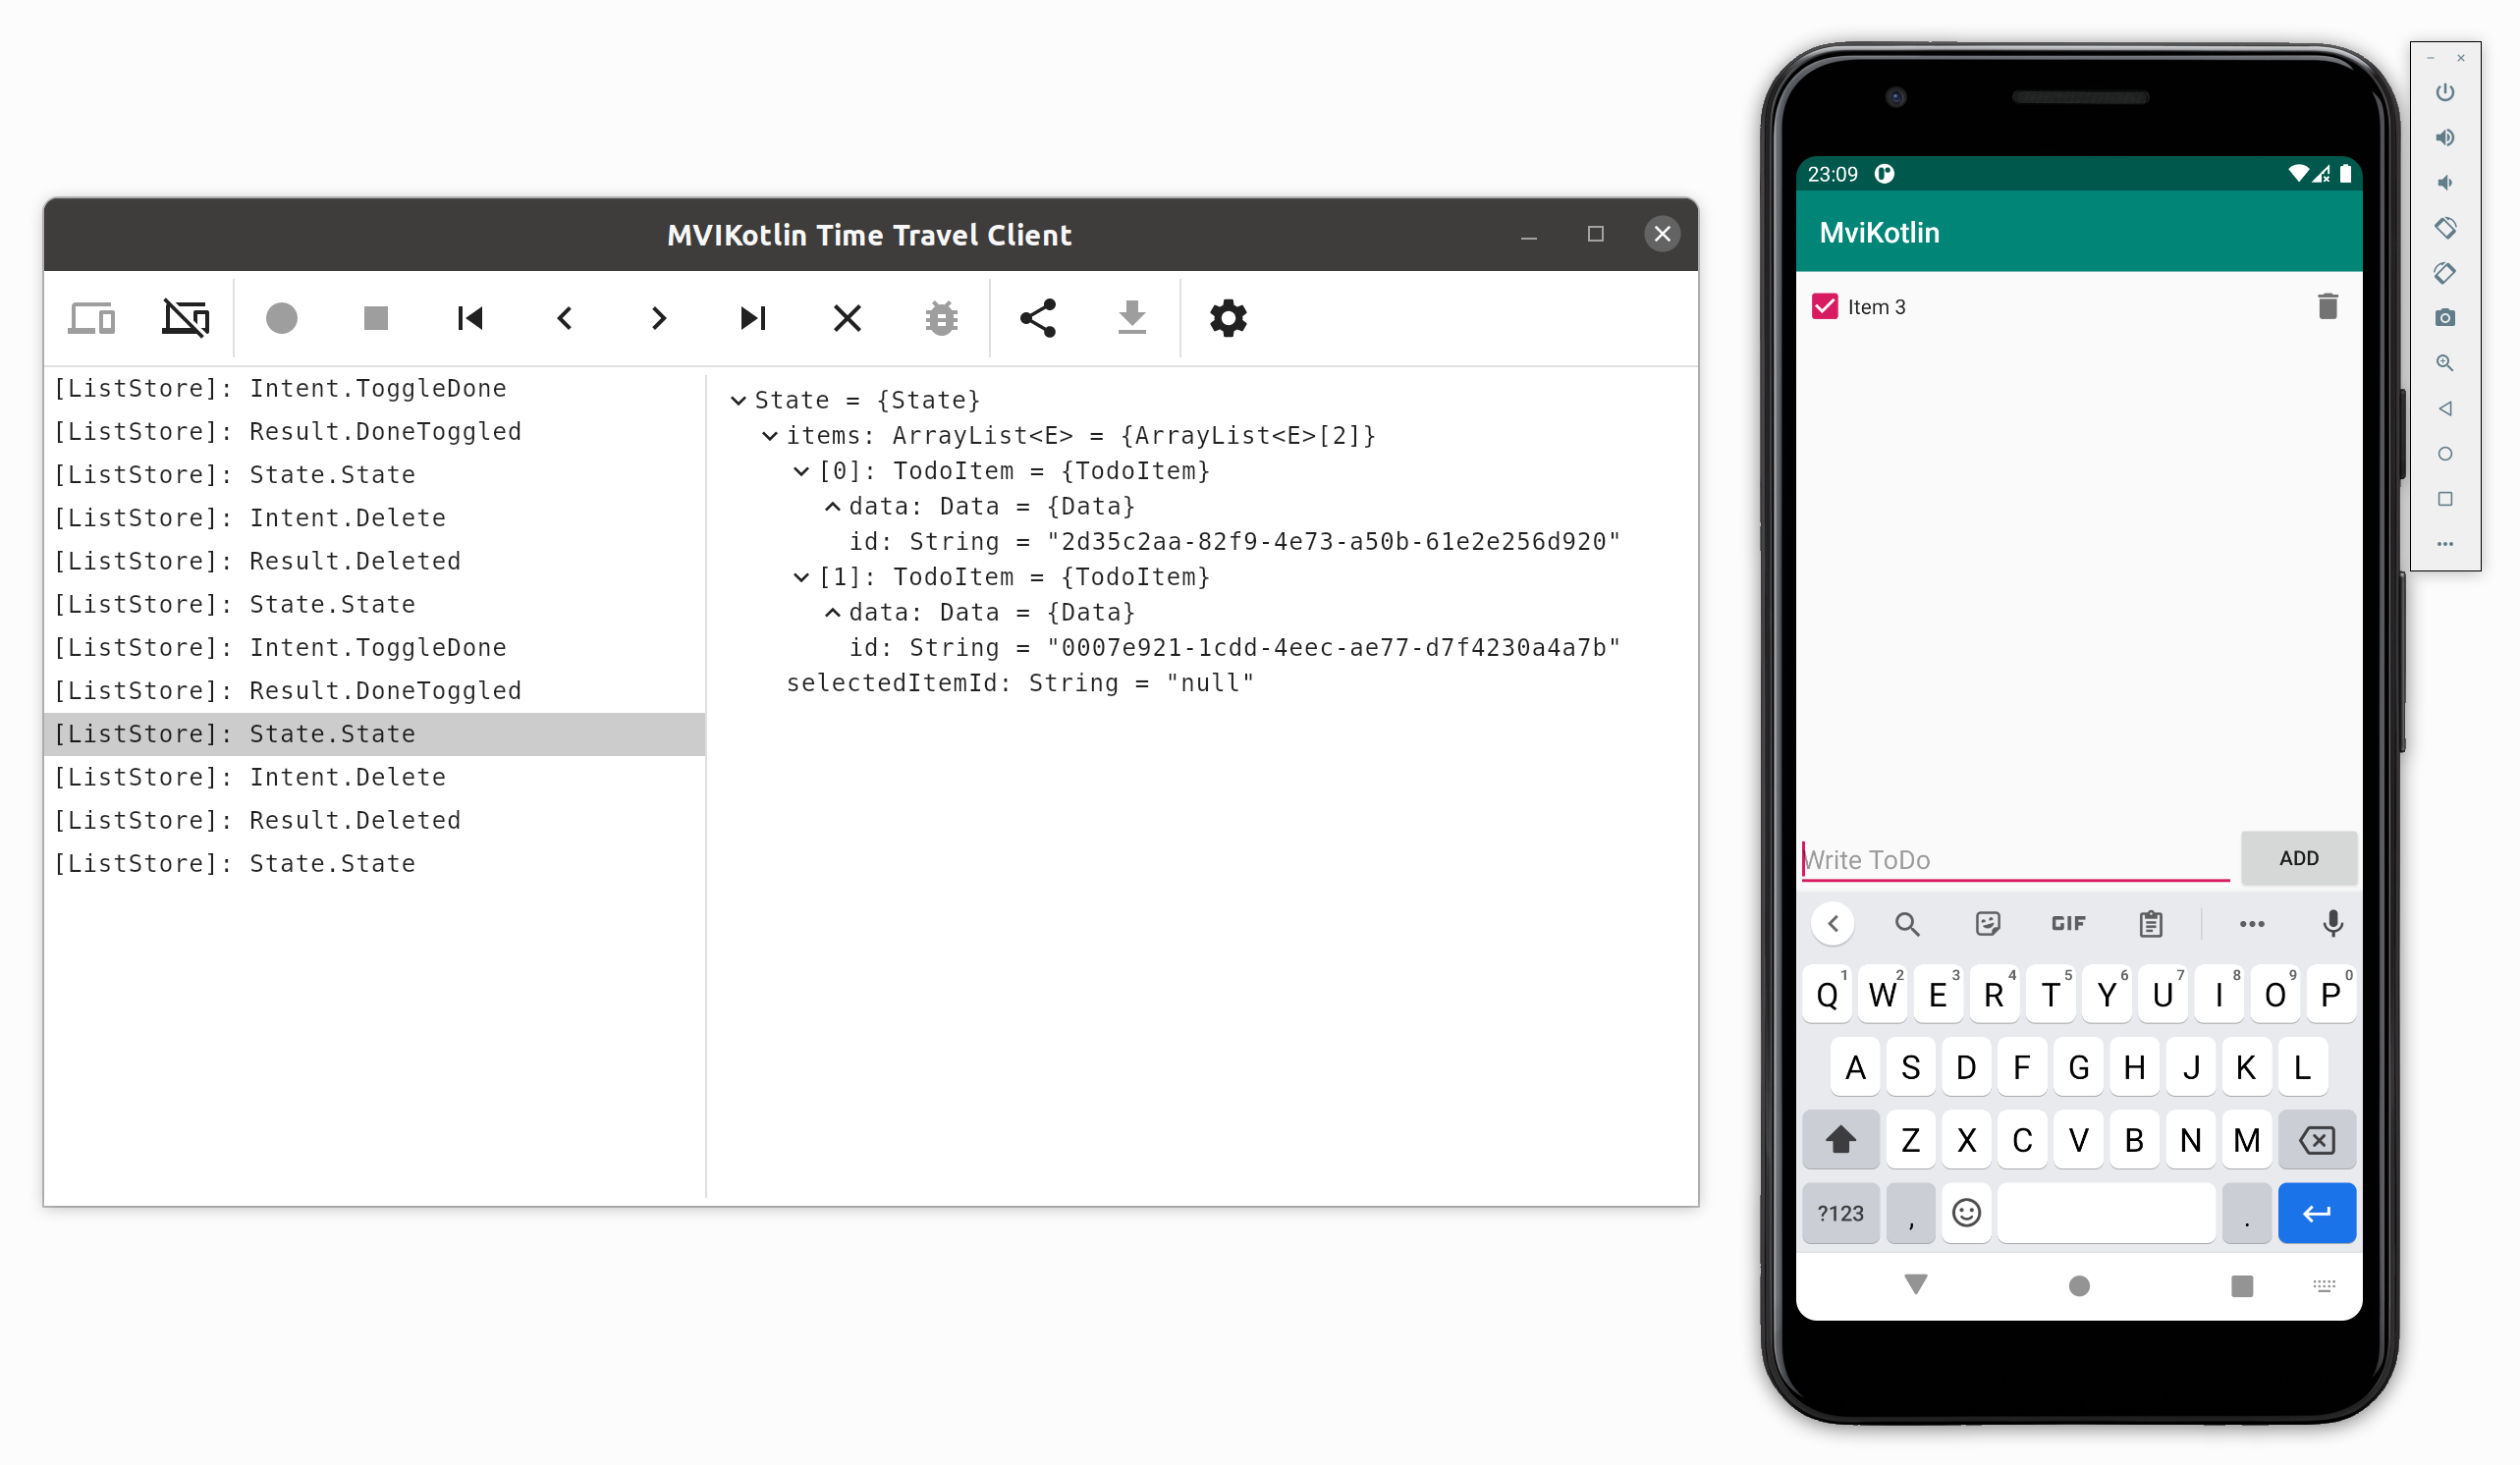
Recording the events
Once a time travel client is connected to an application, it can start recording events. Press the “Start recording” button to start the recording. All recording events will appear in the list on the left-hand side. To stop the recording, press the “Stop recording” button.
Inspecting the events
When the recording is finished, the application enters the inspection state. In this state all Stores are disconnected from their inputs and outputs. All events are accumulated and postponed later, when the inspection is finished.
Every recorded event can be inspected. Select an event in the list, the details will appear in the area on the right-hand side. The exact representation of the event details depends on the time travel server implementation and varies across platforms.
The time travel server for Android and JVM uses reflection to precisely parse object properties.
The time travel server for Darwin/Apple targets just uses the toString function. It is advised to define states, intents, actions and messages as data class.
The time travel server for JavaScript uses the JSON.stringify function. Same as for Darwin/Apple, it is advised to use data classes.
Time travelling
During the inspection state, Store states can be rolled back and forward. The following buttons can be used:
- “Move to start” - moves to the very first recorded state
- “Step backward” - moves to the previous recorded state
- “Step forward” - moves to the next recorded state
- “Move to end” - moves to the latest recorded state
The UI always displays the currently selected state.
Debugging recorded events
In the inspection state, each recorded event can be triggered again. A typical use case is to record an incorrect behaviour of an app, then put breakpoints in the code and trigger a recorded event. To trigger an event, select it in the list and click the “Debug the selected event” button.
If the triggered event is an Intent or an Action, then a new debug instance of the Executor of the corresponding Store is created for each such event. The debug instance of the Executor has the same State as it was at the time of the recording. All Messages dispatched during the debug session are passed through the Reducer and the State of the debug instance of the Executor is updated accordingly. Any Label published during the event debug session is ignored.
If the triggered event is a Message, then the Reducer is just called with the Message and the corresponding State. The result of the Reducer is ignored in this case.
Exporting and importing events
This feature is currently only supported for JVM and Android applications. In order this feature to work, all related classes (Intents, Actions, Messages, States and Labels) must implement the Serializable interface. The mvikotlin module provides the handy JvmSerializable interface, which can be used in the common code.
To export the recorded events, press on the “Export events” button. Select a folder and enter a file name in the file saving dialog and save the file. All the events will be serialized into the file.
To import previously exported events, press the “Import events” button and select a file. All the events will be deserialized and applied to the corresponding Stores.
⚠️ When importing the events, the application code should be the same as it was at the time of exporting. The classes being deserialized should match the serialized ones. Otherwise, the behaviour is undefined.
Demo video
Check out the video demonstrating how you can export/import the time travel data using the IDEA plugin.
Finishing the inspection
To finish the inspection, press the “Cancel” button. All pending Intents and Labels that were queued during the inspection are processed automatically.
| Overview | Store | View | Binding and Lifecycle | State preservation | Logging | Time travel |